Ambient Occlusion Baking with 3DS Max.
This guide aims to explain a few issues regarding Ambient Occlusion (AO) baking that aren't adressed much elsewhere, as well as show some to actually bake AO in 3DS Max.
Ambient Occlusion baking is the act of rendering the global occlusion of an object, to a texture, via its UV coordinates, This means your object must be completely unwrapped before you can attemp baking AO. It's actually even necessary to keep AO baking in mind when UV'ing your model, mostly in regard to overlapping and sharing UV space. In general, you can't share UV space when you bake AO, but there are many ways around this. I'll go over the problems and discuss a solution.
Overlapped rendering
The first problem is straight forward: if a pixel of a texture is used twice by a polygon's UV coordinates, your baking process will write to that pixel twice, overwriting previous information. This isn't always a problem, but can result in weird facetted bakes that are completely unuseable. Since you should always strive to make the most out of your UV space, uniquely unwrapping the otherwise overlapping parts is not a solution for this. The baking process is clearly the only problem here. The solution is to offset your overlapping parts. You move one or more of the overlapping parts (so there's only one polygon occupying the UV space) exactly 1 UV unit aside. This makes sure there is no more overwriting. Out of bounds texture coordinates are wrapped back during texture lookups, but not during rendering to texture, fixing our problem. This offsetting is made easy when you use the Unwraptools v1.50 from sloft.net, which has a move type-in that allows you to move selected vertixes for exactly 1 unit.
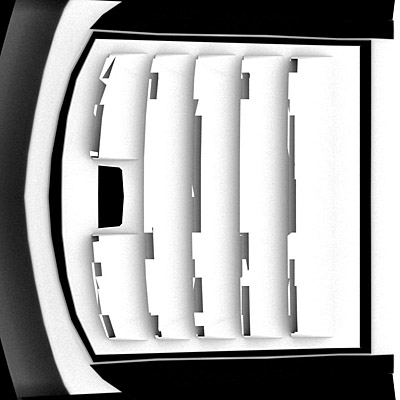
Example of artifacts due to overlapped rendering

Offset UV coordinates with Unwraptools 1.50
Non-symmetrical AO sharing
Symmetrical objects can easily share AO texturespace, al you have to do is mirror their UV coordinates. Problems arise when the AO baked onto the texture, is not correct for each side. Imagine a car bumper, where each half shares the same texturespace. Now if there is some sort of detail in front of only one half of the bumper, you might end up with a black spot on the other half of your texture, even though there is no occluding geometry there. In such a simple case, it's enough to only bake the half without occluding geometry and trade off some accuracy in your AO maps. More complex problems arise when you have object that are really different in terms of occlusion, use the same space. Depending on how wrong the bake is, you might even have to completely overpaint small parts of you baked AO. Just try to keep it really generic in terms of occlusion, just some simple shading that works for all geometry using the texturespace.

Illustration of problems with non-symmetrical models unwrapped symmetrically. The right image shows the corrected version.
Baking Methods
Now that these things are done and over with, we can go over to the main focus of this article: AO baking methods in 3DS Max.
I presume you already know how to use the Render-to-texture interface and know your way around some rendersettings in Max. For Vray, rollouts are the bars you can click to expand their content.
The rendertimes I list for each example are with a 3.3Ghz Intel quadcore cpu, the difference in speed might be a lot bigger with slower CPU's.
Method 1: Scanline with Skylight and LightTracer.
This is one of the simplest methods to which everyone has access.
- Create a Skylight in your scene, you don't need to touch any options.
- With your renderengine set to Scanline, go to the Advanced Lighting tab, and select Light Tracer from the dropdown.
- Now just render a LightingMap element using the render to Texture interface.
Downsides of this method are that it's not especially fast, and that intersecting geometry is not anti-aliased when rendering the sections to texture (can look ugly). I personally never use it because of this.

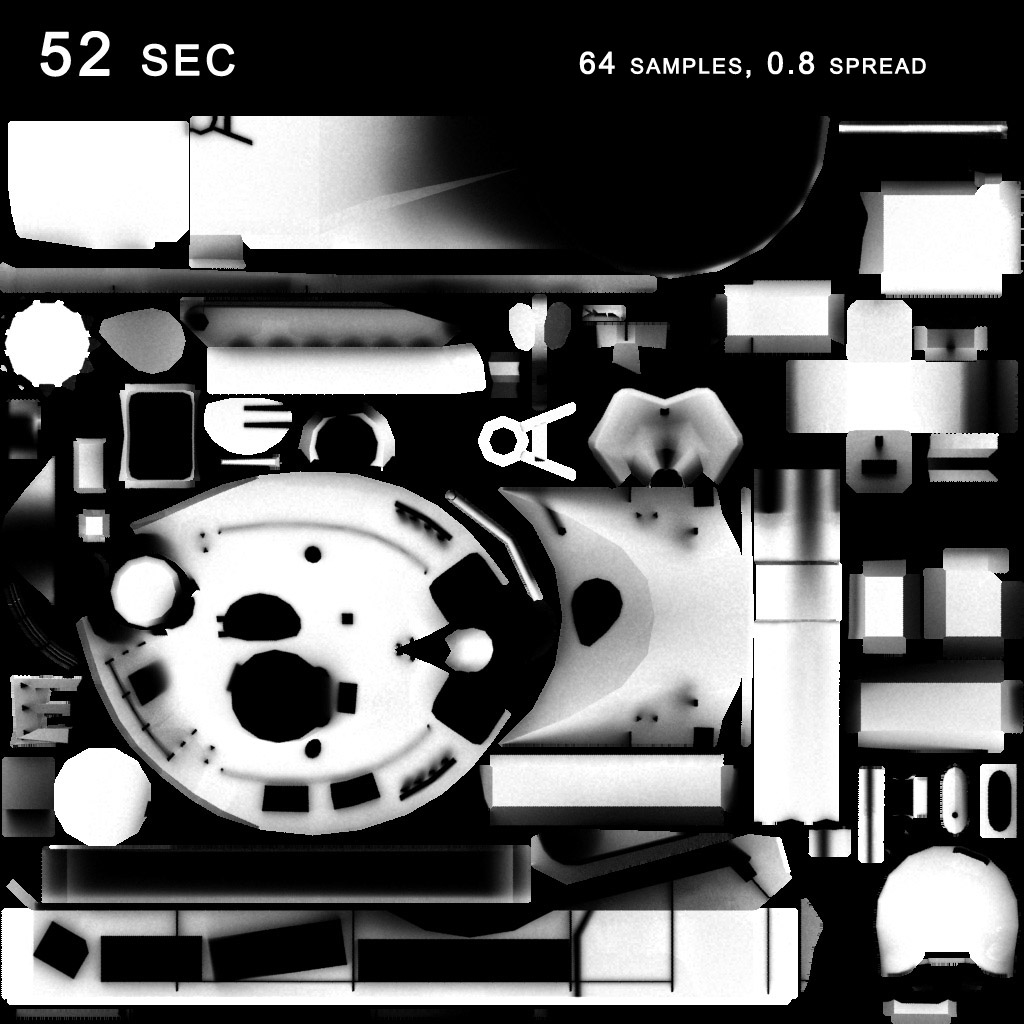
Method 2: Mental Ray AO element
This method is even simpler to set up and doesn't require any materials.
- Change your renderengine to Mental Ray.
- As render to texture element, choose Ambient Occlusion (MR).
- You probably want to up the samplecount in the Element Unique settings, 64-128 is decent.
- Render it.
Downsides: Quite slow if you want decent quality (more than 64 samples), especially slow if you want it noise-free.
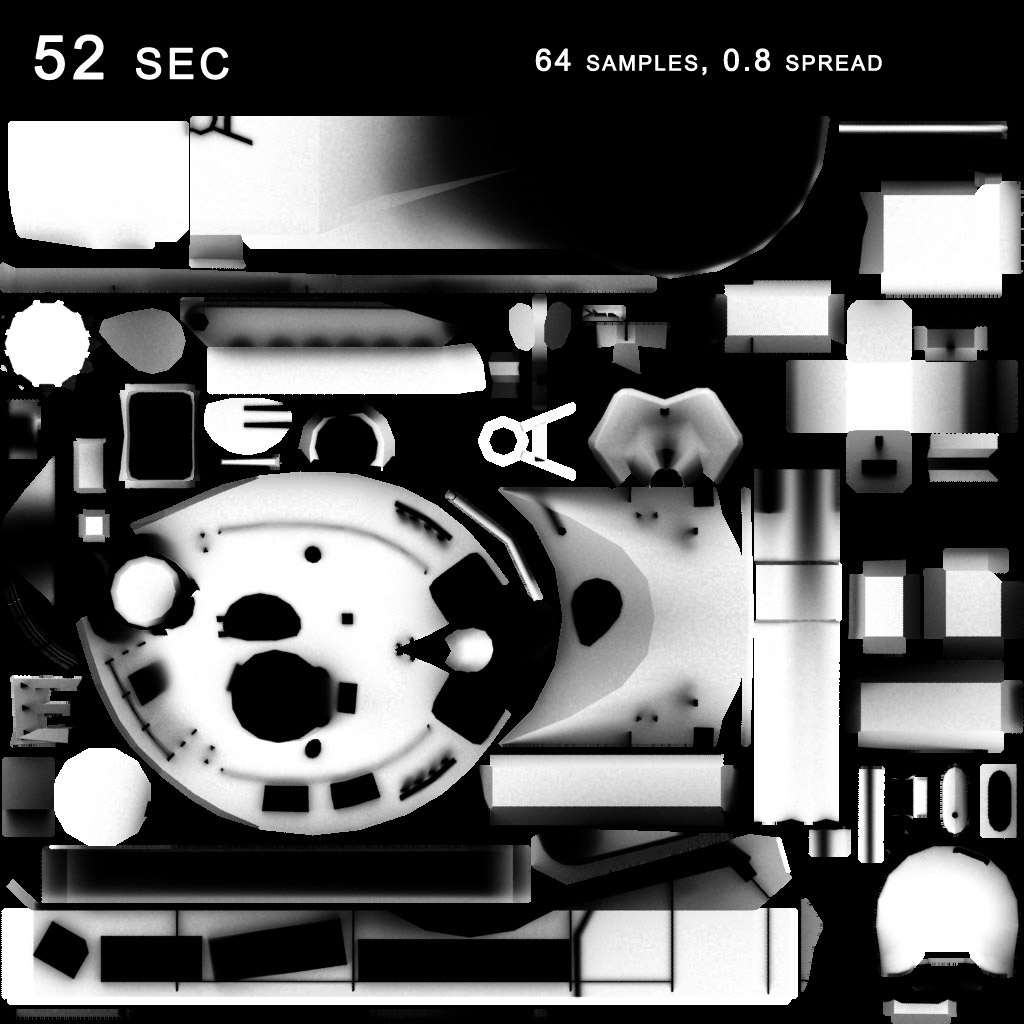
Method 3: Mental Ray AO material
This method yields the same results, it's just different to set up.
- Ensure Mental Ray is your renderengine.
- Create a white material. Set it to 100% self-illumination. Now add an Ambient/Reflective Ambient Occlusion map into the diffuse slot.
- Change the samples to your liking. If you want the same results as the render element, change the spread to 0,8.
- Render a Completemap element to texture.
Downsides: same as MR AO element, bit more work to set up and you need to overwrite your object's materials.
Method 4: VrayDirt
For this method you need the Vray renderengine, at least v1.50.
- Set your renderengine to Vray.
- Go to Vray Global Settings rollout, and disable Lights and Default Lights by unchecking the tickbox next to it. (very important, results are wrong if you don't).
- Open the Adaptive Subdivision image sampler tab, and set the Max rate to 1 instead of 2, for a speed increase without noticeable quality loss.
- Create a white standard material. Add a VrayDirt map into the self-illumination slot.
- Go to the Vray Global Settings rollout, and enable the override material tickbox. Drop an instance of your material into the slot that became available. (this step is optional, you can also assign your material to your object the standard way).
- Render a VrayCompleteMap element to texture. (if you do not use the Vray-specific completemap, Max will crash as soon as you hit render, keep this in mind).
This method is actually the fastest one I know. It's not really accurate however, since it's not full occlusion as it only looks at geometry and doesn't do any raytracing like the previous methods. I think it's one of the most straightforward ones to render, yet you still have all the extra control over quality that Vray offers.

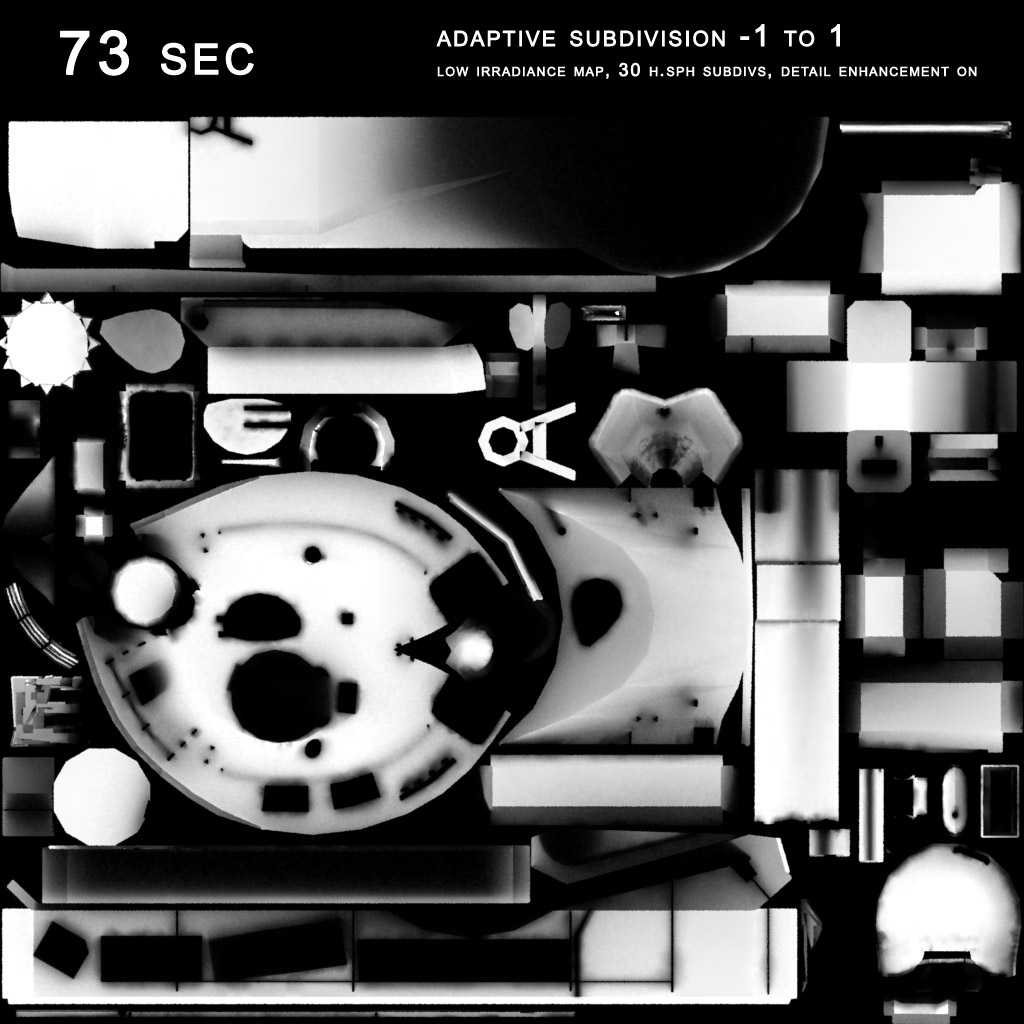
Method 5: Vray Irradiance Map
This one also requires Vray. It's quite difficult and long to set up compared to other methods.
- Set your renderengine to Vray.
- Go to the Global Settings rollout and disable Lights and Default Lights by unticking the tickbox next to it.
- Open the Adaptive Subdivision image sampler tab, and set the Max rate to 1 instead of 2, for a speed increase without noticeable quality loss.
- In the Environment rollout, enable the GI environment override by checking the tickbox. Change the color from the default lightblue to pure white by clicking the color.
- In the Indirect Illumination tab, turn on Indirect Illumination by checking the tickbox.
- Set the secondary bounces GI engine to none by selecting this option from the dropdown.
- Open the Irradiance Map rollout, and change the preset to Low.
Check the "show calc phase" tickbox so you have something to look at during rendering and can judge progress.
Change the Hsph. subdivs value from 50, to 30.
Finally, enable the Detail Enhancement setting by checking it (without this, the renders are useless).
All these settings determine quality, play around with them to find out what works. Medium together with detail enhancement is my preferred method for final quality. - Now, create a white material. Nothing else to change except for the color.
- Go to the Vray Global Settings rollout, and enable the override material tickbox. Drop an instance of your material into the slot that became available. (this step is optional, you can also assign your material to your object the standard way).
- Render a VrayCompletemap element to texture. (not a standard Completemap or it will crash).
This method is my preferred way for full quality renders. It's slower than all the others, but allows full control over pretty much everything. Unlike the scanline and MR methods, you can change pretty much every setting. This method is also not limited to using Irradiance Map as the primary bounce engine, you can try and use other ones just as well, there's a lot of stuff there to use. Might want to read these tutorials if you decide to do so (they have taught me a lot!).