Postshaders
General
Download:
- PostShaders 1.0 – Screen Shaders.
- Xoliulshader 1.3 – object shader.
- Cubemaps for use with my shader.
- GrabViewport Script – by Leslie Vandenbroek.
Compatible with:
- 3DS Max 2008, 2009, 2010 and 2011.
- ATi x1000 and up / GeForce 6 and up.
Links:
- Post Shaders FAQ, read this first please.
- Polycount Topic
- Game-Artist.net Topic
- Shader Setup Article
Shader features
The goal of these shaders is to save you the trouble of going into Photoshop and post-processing your images. You can now do all the exact same operations in realtime, with immediate visual results. It’s faster and easier than using photoshop!
Listed below are all the separate Post Shaders included in the package, along with an explanation of what they do, how they can be useful and what parameters you can tweak.
Unsharp Mask
Sharpening

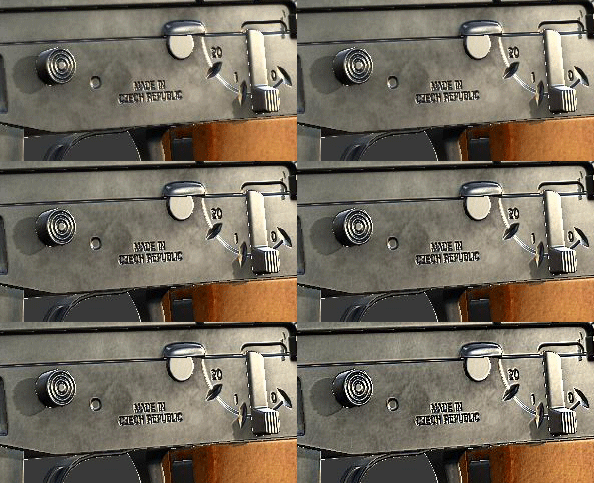
Post_Unsharpmask is a shader that fully mimics Photoshop’s Unsharp Mask filter. Realtime screengrabs can end up blurrier than their rendered counterparts. This shader allows control over the sharpen width with Blur Size and lets you control the effect strength with the Unsharp Strength spinner.
This effect should almost always be usefull to bring out details a little bit more. Works better when used in combination with the HiRes Grabviewport script (due to improved AA).
Color Correction
Channel Boosting

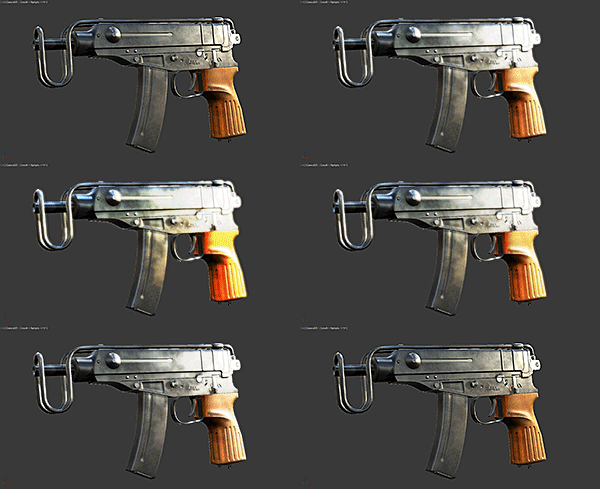
Post_Colorcorrect is the most versatile and useful effect of the collection. One of its’ features is the option to increase the contrast on each of the RGB channels separately using Red, Green or Blue Channel Power.
The default values are a 1,3 contrast boost of the Red and Green channel. This simulates a “Lomography” effect that increases contrast and shifts the colors towards a slightly warmer tint.
Color Overlay

Another feature is the ability to blend a specific color over the final image. This mimics the effect in Photoshop of blending a layer with a solid color over your image with the “Overlay” blend mode. The exact same math as in Adobe Photoshop is used.
By default the Color Blend is set to dark green. Dark blue would also work well as a value. Control the strength of the effect with Blend Strength.
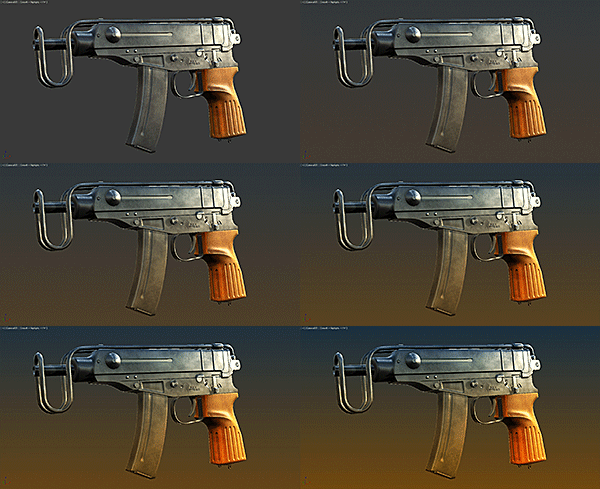
The example on the left is similar to the color grading done in Resident Evil 5.
Gradient Overlay

Instead of blending a solid color, post_colorcorrect also allows for overlaying a gradient between two solid colors.
Select colors with Gradient Top and Bottom Color. Control the total effect with Gradient Strength. Shift the Gradients’ center position with Gradient Shift.
The default values are set to a gradient between cool blue and warm orange. This effect is similar to the post-processing sometimes seen in CSI Miami.
Do not use this together with Color Blend!
Vignet

The last feature of post_colorcorrect is the option to add a vignet to the final image. This mimics the effect of a real life camera vignet.
Vignet Power controls how the transition between light and dark happens. Vignet Radius Offset shifts the effect out- or inwards. Vignet Strength controls the effect strength.
Try not to increase Vignet Power much, it tends to create banding effects on a dark background. The values in this effect require a bit of tweaking compared to others.
Bloom
Improved Bloom

The only (slightly) useable post effect that comes with 3DS Max is post_bloom. My version improves significantly upon this effect by calculating and blending the bloomed areas in a different way.
Brightness Offset and Contrast Factor control which areas to bloom. The default values should work in most cases. Bloom Strength controls the total effect. Bloom Saturation controls how much the bloom effect is desaturated before it is added to the image. Decrease it for more color.
Blur Width controls how big the blur of the bloom effect is. Try not to push this too far, or you’ll get artifacts.
Achromatism
Chromatic Abberration

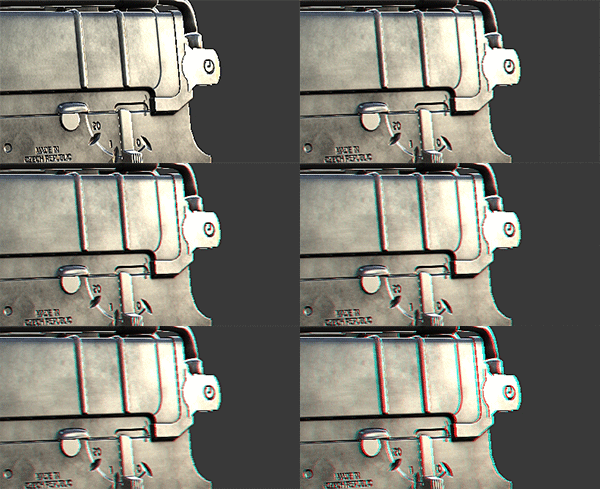
A minor effect, post_Achromatism, also known as Chromatic Abberration, simulates the effect a bad lense has on the Red and Blue channel. Both channels are offset slightly to opposing sides.
Control the amount of channel offset with Focus Shift.
This effect doesn’t play nice with Unsharp Mask, since it actually degrades the image by blurring it slightly.


Leave a Reply
Want to join the discussion?Feel free to contribute!